
Workshop process
How to make a hydraulic hose assembly
The complete workshop process in eight steps, from choosing the hose to labelling the finished assembly. Each step has its own page with the method, the checks and the equipment needed.
A hydraulic hose assembly is a length of hose with a fitting permanently crimped onto each end. Making one is a fixed sequence: select the components, cut the hose, skive it if the fitting requires, insert the fittings, crimp, clean, test and inspect.
Each step has one thing that must be right before moving on. Selection fixes the crimp specification. Cutting fixes the length. Insertion fixes the grip. Crimping fixes the crimp diameter. Cleaning and testing prove the assembly is safe to install.
This guide is brand-neutral. Crimp diameters, skive lengths, insertion depths and test pressures differ between hose and fitting manufacturers, so every numeric setting must come from the specification for the exact components you are using.
The 8 steps
- 1SelectHow to select hydraulic hose and fittingsChoose the hose, both fittings and the crimp specification as one matched system before anything is cut.
- 2CutHow to cut hydraulic hoseCut the hose to cut length, not assembly length, with a square end and as little heat and debris as possible.
- 3SkiveHow to skive hydraulic hoseRemove the rubber cover, and for some fittings the inner tube, only when the fitting series requires it and only to the specified length.
- 4InsertHow to insert fittings into hydraulic hoseMark the insertion depth, push each fitting fully home, and set the orientation of elbow fittings before the hose goes into the crimper.
- 5CrimpHow to crimp hydraulic hoseSelect the die set and crimp diameter from the specification, crimp, then measure the crimp diameter before the hose leaves the machine.
- 6CleanHow to clean a hydraulic hose assemblyRemove cutting dust and metal particles from the bore, then cap both ends at once so the assembly stays clean.
- 7TestHow to pressure test a hydraulic hose assemblyProof test the finished assembly with liquid, inside a guarded enclosure, at the pressure and hold time the specification calls for.
- 8InspectFinal inspection, capping and labelling of a hose assemblyCheck length, orientation and appearance against the job sheet, cap both ends and label the assembly so it can be traced.
Equipment needed to make hydraulic hoses
A hose workshop needs one machine or tool for each step. This is the usual minimum for crimped assemblies:
| Equipment | What it is for | Used in step |
|---|---|---|
| Hose cut-off saw | Cuts wire-reinforced hose square. Blade type depends on hose construction. | Cut |
| Skiving machine | Needed only if you use skive-type fittings, mainly on multi-spiral hose. | Skive |
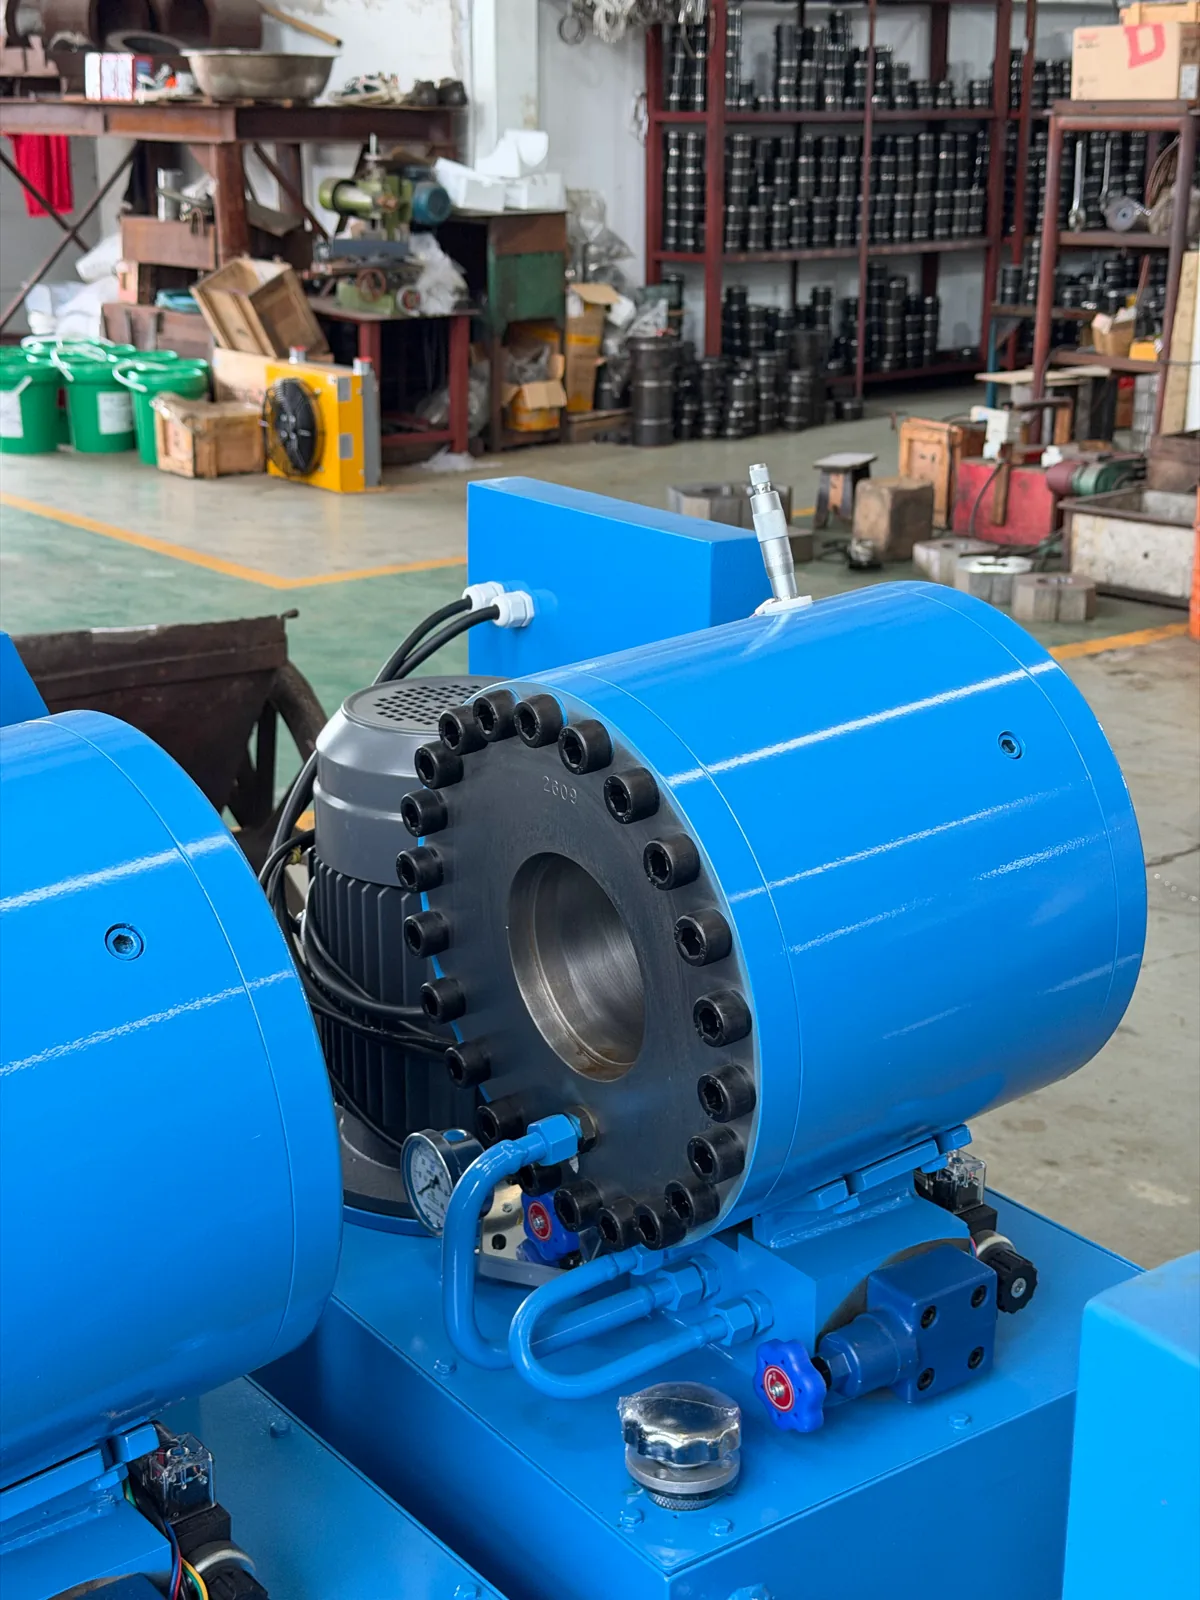
| Crimping machine and die sets | The core machine. Capacity is set by the largest hose and fitting you will make; die sets cover the range of crimp diameters. | Crimp |
| Calipers or crimp micrometer | Measures the crimp diameter on every setup. | Crimp |
| Projectile cleaning launcher | Cleans the bore after crimping. | Clean |
| Hydrostatic test bench | Proof tests finished assemblies inside a guarded enclosure. | Test |
| Caps, plugs and labels | Keep the assembly clean and identifiable. | Inspect |
| Crimp specifications | The data for each hose-and-fitting combination. Without it the crimper cannot be set. | Select |
Frequently asked questions
What are the steps to make a hydraulic hose?
Eight steps: select the hose and fittings, cut the hose to cut length, skive it if the fitting requires, insert the fittings to the marked depth, crimp to the specified diameter, clean the bore, proof pressure test, then inspect, cap and label.
What equipment do I need to make hydraulic hoses?
A hose cut-off saw, a crimping machine with die sets, calipers, a cleaning launcher, caps and labels, and the crimp specifications for your hose and fittings. A skiving machine is needed for skive-type fittings and a test bench for proof testing.
Can I make hydraulic hoses without a crimper?
Field-attachable (reusable) fittings screw onto the hose with hand tools and need no crimper, but they cost more per fitting and suit a limited range of hoses. Permanent crimped fittings are the standard for workshop production.
How long does it take to make a hydraulic hose assembly?
A straightforward assembly with two no-skive fittings takes a few minutes once the specification is known. Skiving, elbow orientation, cleaning and testing add time. Identifying an unknown old hose often takes longer than building the new one.
What is the most common cause of hose assembly failure at the fitting?
Incomplete insertion of the hose into the fitting and an incorrect crimp diameter. Marking the insertion depth and measuring the crimp on every setup prevent both.
Tools and data for the job
Standards referenced
- ISO 1402 — Rubber and plastics hoses and hose assemblies: hydrostatic testing.
- SAE J517 — Hydraulic hose (working, proof and burst pressure relationship; length tolerance).
- SAE J1273 / ISO 17165-2 — Recommended practices for hydraulic hose assemblies (selection, installation and maintenance).
Use the current instructions of the hose, fitting and machine manufacturer for the exact components in front of you.