
Step 8 of 8 · Inspect
Final inspection, capping and labelling of a hose assembly
Check length, orientation and appearance against the job sheet, cap both ends and label the assembly so it can be traced.
What this step does
The last step confirms that what was built is what was ordered, and makes sure it arrives clean and identifiable. It takes a minute per assembly and catches the errors that are most expensive to find later on the machine.
How to do it
- Measure the finished length between the same reference points used on the job sheet and compare it with the length tolerance.
- Check both fittings against the specification: thread, seal type, shape and, for elbows, the angle between them.
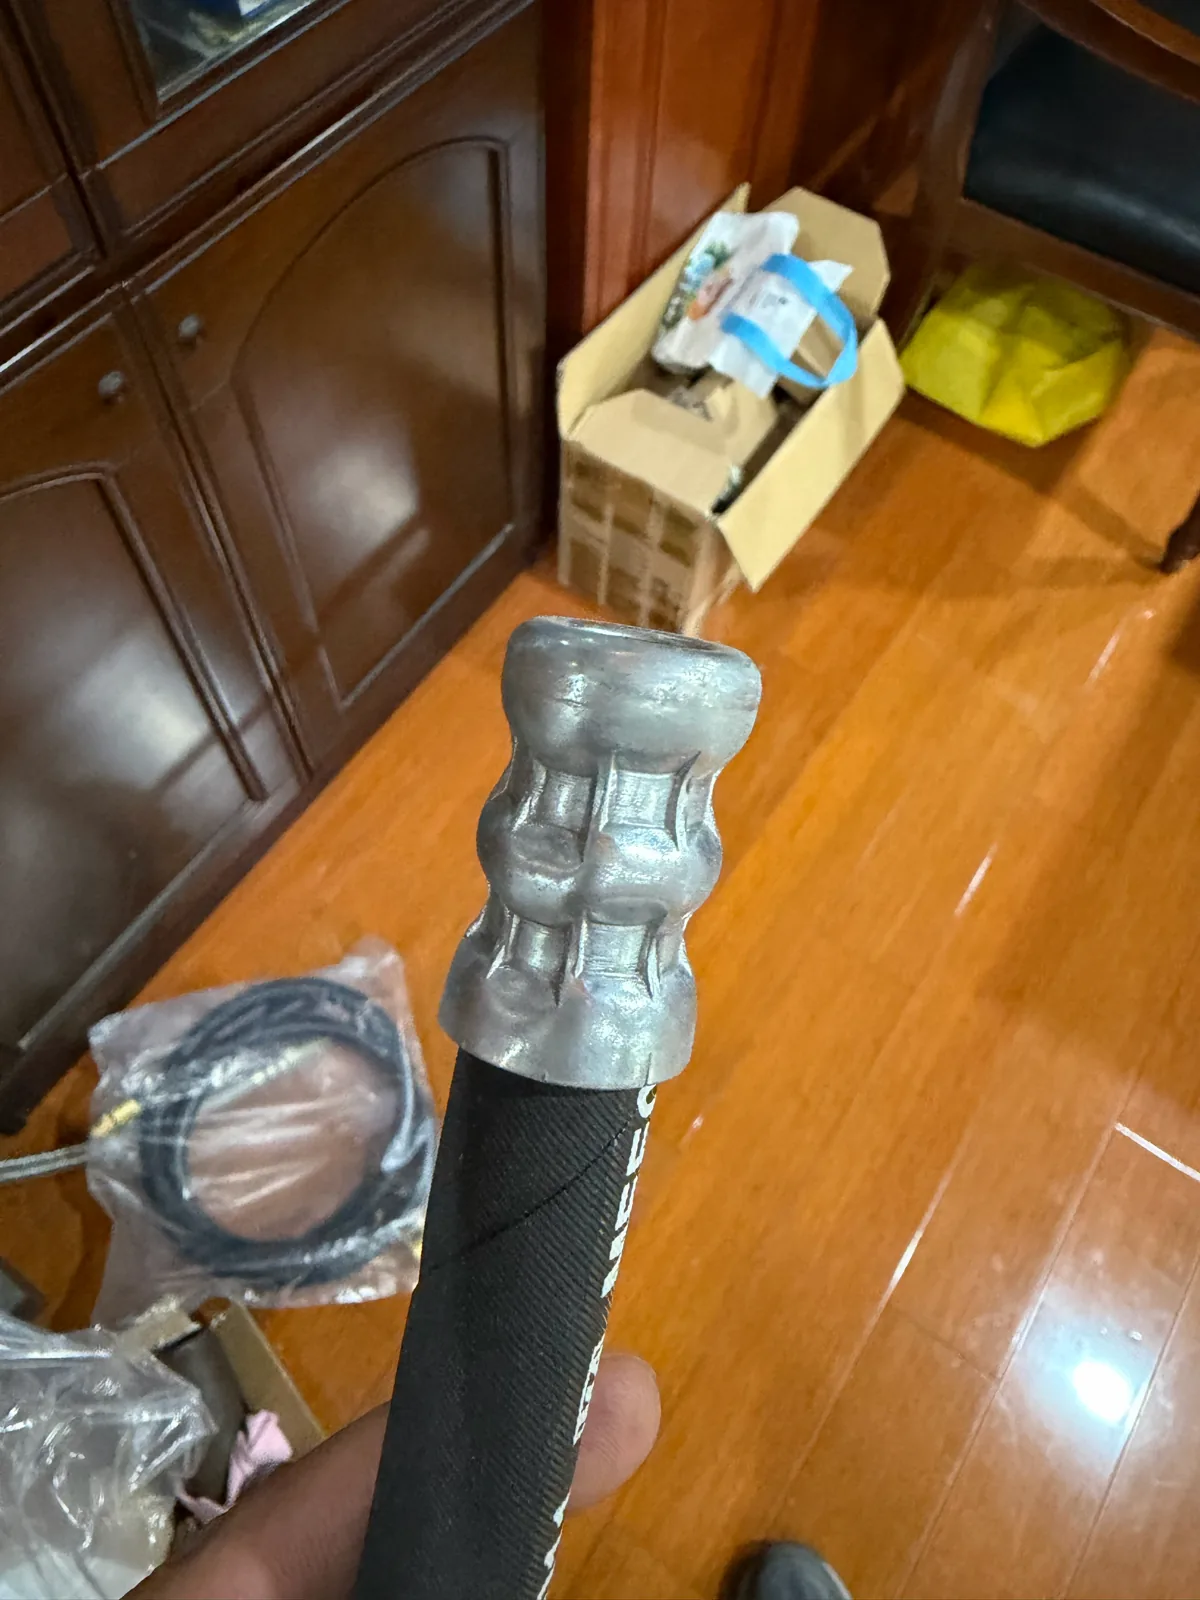
- Inspect the crimps: even pattern, depth mark at the shell edge, no cracks in the shell.
- Inspect the hose: no cuts, kinks, twist, exposed wire or cover damage. The layline should run straight along the hose.
- Check threads and sealing faces for damage, and that swivel nuts turn freely.
- Confirm both ends are capped with clean caps.
- Attach a label or tag with the part number or job number, date of assembly, working pressure and, where required, the test record.
Checks before moving on
- Length is within tolerance.
- Fitting orientation matches the job sheet.
- Crimp diameter and test results are recorded.
- The assembly is capped, labelled and packed so the ends are protected.
Common mistakes
- Shipping without caps, which undoes the cleaning step.
- Leaving the assembly unlabelled, so nobody can tell its rating or age at the next service.
- Not checking the layline for twist. A twisted hose has a much shorter life.
Equipment and consumables
- Measuring bench or tape
- Caps and plugs
- Labels or tags and a way to print or stamp them
- Records of crimp diameter and test results
Settings such as crimp diameter, skive length, insertion depth and test pressure are specific to the hose and fitting manufacturer. Use their current specification.
Frequently asked questions
What should a hydraulic hose assembly label show?
At minimum a part or job number, the assembly date and the working pressure. Many workshops add the customer reference and a test record number so the assembly can be traced.
What is the length tolerance of a hose assembly?
Manufacturers commonly publish ± 3 mm up to 305 mm, ± 5 mm up to 457 mm, ± 6 mm up to 914 mm, and ± 1% above that. Confirm the tolerance in the standard or catalogue you work to.
How do I check a hose for twist?
Follow the layline printed along the hose. It should run straight from one fitting to the other. If it spirals, the hose was twisted during assembly or installation.